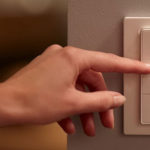
A single-button switch is considered a simple device used to control a lighting system in a room. Over time, it becomes necessary to replace or repair such an element of the electrical system, so it is necessary to understand the principle of operation and the features of the connection diagram.

It is a single-key switch - a switching device for turning on and off one category of lighting sources. Management is carried out using a single button with two positions. In practice, often the installation of the switch raises a lot of questions. Before performing repair or replacement work, it is necessary to find out the functional purpose of all wires and only after that connect the device.
Content
Where is a one-button switch used?
The internal structure of a standard single-gang switch assumes the presence of a source and consumer of electricity, they are a 220 V network and a lamp.In order to enable and disable the device, a disconnecting element must be present between these system components.
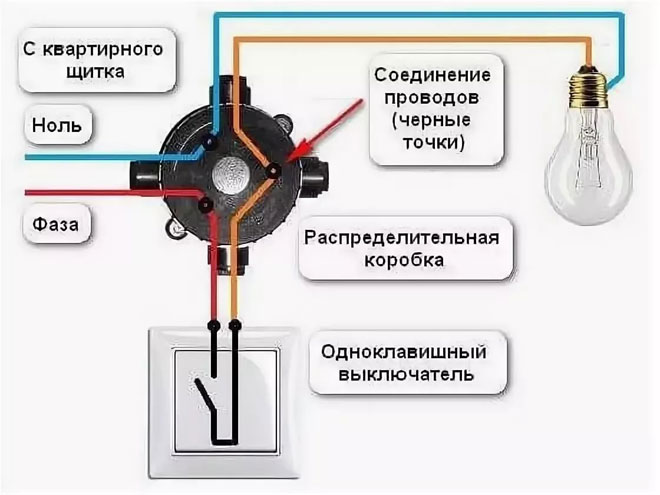
The one-button switch is connected to the phase line of the mains via a serial connection. Including it in a zero break is not recommended, since such a circuit is unsafe for electrical equipment. The reason for the error of this installation method is the fact that when the device is installed in a zero gap, the lamp will remain energized even in the off state of the switch. If the device is touched, a person may be electrocuted.
The device of a single-key switch for connecting a lighting lamp involves the use of a junction box where switching is carried out. 6 conductors are connected to it, two of which carry a supply voltage of 220 volts, and two lines go to the lamp and the one-button switch.
The use of single-key switches is advisable in situations where it is necessary to switch the wire to power one lamp or luminaire. If it is necessary to connect a chandelier with a large number of lamps, then it is recommended to install a device with several keys that are responsible for certain lamps in the chandelier.
How to choose the right single-gang switch
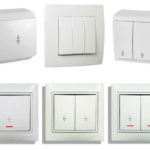
Based on the category of electrical wiring in an apartment or a private house, the following types of single-key light switches can be used:
- for outdoor installation;
- for concealed installation.
The difference between them lies in the way they are mounted on the wall. For outdoor mounting, the device is fixed on a wooden plate placed on the wall.In the second case, the single-gang switch is mounted inside the socket recessed into the wall. For hidden placement, you will need to pre-drill a recess of a suitable depth.
In the process of choosing a product, it is necessary to take into account its limiting indicators. In most cases, the operating voltage indicator is 220V, and the actual current is 10A. The product passport indicates the maximum allowable switching power, the standard value is 2.2 kW. Thus, the power of the lamp must be within the specified power.
Mounting and installation rules
Initially, we note that the installation of a single-key switch must be carried out in compliance with these rules:
- work is carried out exclusively with the voltage off;
- only phase wires are subject to switching, the neutral conductor goes directly to the lamp;
- it is convenient to connect a hidden type switch if the length of the wiring in the socket is not less than the diameter of the switch;
- It is recommended to strip the wire with a stripper.
When installing a standard single-gang switch, you must pay special attention to the following nuances: the correct connection of the wires in the junction box and the switch itself.
The connection sequence of the components in the junction box is as follows:
- determine the phase that comes from the supply side. For this purpose, an indicator screwdriver with a neon light is suitable. When it is brought to the phase, the neon lamp lights up;
- turn off the voltage on the apartment panel;
- connect the phase to one of the wires going to the switch;
- connect the second wire from the switch to the wire going to the center contact of the lamp base;
- then connect to zero the cable from the external contact of the base.
Connecting wires to a light bulb in a junction box is done using different methods:
- twisting and further soldering with isolation of this area with electrical tape or a plastic PPE cap;
- screw terminals;
- terminal blocks;
- spring fasteners.
The most reliable connection and contact is provided using the first method. When using screw and bolt connections, directly connected components can be damaged, especially if the person performing this task does not have enough practice and experience. Springs may stretch during operation, resulting in sparks and fire.
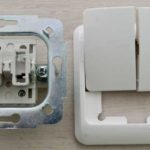
To connect a single-gang light switch, you need to do the following:
- Remove the power button with a flat screwdriver. Moreover, it is necessary to act with the utmost care and precision, since some models are made of fragile plastic that can be damaged;
- fix the device with an external type of fixation with screws on the socket and use the screws to connect the conductors to the contacts;
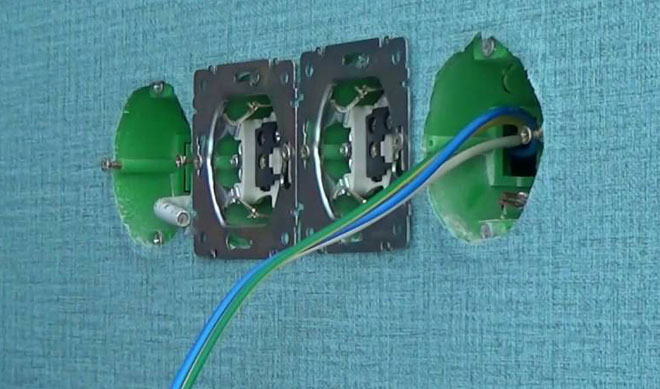
- for the hidden type, you must first connect the wires, and then insert the housing into the wall recess and fix it with the provided tabs by tightening the fixing screws. In this case, the socket box is fixed in a niche and the reliability of fastening is checked, only after that a single-gang switch is mounted;
- after performing this sequence of actions, insert the key into place.
If the existing socket box is out of order due to long-term operation, it is necessary to replace it at the preparatory stage.In particular, the replacement of the socket box may appear in rooms with high humidity in order to reduce the risk of damp wiring and short circuits. The main task in this case is not to cause damage to the wiring. The algorithm of actions is as follows:
- using a perforator or a chisel, gypsum is manually hammered around the socket until it is released;
- then it is removed and a new socket box is inserted onto the existing wires, it is fixed with plaster or alabaster mixture;
- you need to wait for complete hardening, and only after that perform further installation steps;
- then unscrew the fixing bolts of the expansion brackets so that the sealing gum provides the closest possible fit to the case - then the switch will enter the socket to the end;
- hold the switch and tighten the bolts until fully fixed, insert the key and, after turning on the voltage on the shield, check that the lighting is switched on by the switch.
So, single-button switches are used to control individual lamps. The switch must be connected to the phase wire in series with the lighting lamp. The switch must be selected so that its maximum current strength in the passport is not less than that flowing through the switch.
Similar articles: